Wednesday 30 December 2015

The Christmas Jumper Surprise

So back in January me and my mum decided we were going to Knit Christmas jumpers for the family to wear on Christmas day, in total we had 8 jumpers and with other personal projects and my freelance design work for magazines it was important we started early so we had enough time to fit them all in, so a few weeks in to 2015 we got to work on our top secret project!

Christmas jumper have become so popular in the past few years and there are so may available to buy we wanted to make sure these were unique so a festive image on the front was not an option, and as we were making them personally for family we wanted to make sure they had that personal touch so it was to be knitted jumpers as the whole object/character rather than the image on the front and the recipient’s name knitted in to it too. The characters we came up with were, a Christmas Pudding, a Christmas Tree, Rudolph, a Robin, a Gingerbread Man, a Present, a Snowman, and a Bottle of Champagne!

We planned a ‘Quizmas’ Eve party to give the jumpers out, which if you can’t guess by the name is a party on Christmas Eve in which we planned to do a quiz, but no one knew they were also getting a jumper! When everyone was settled with a drink in hand me and my mum sneaked out and put our jumpers on, but it was so funny as they were covered in bells they were jingling so much I’m surprised no one heard and came to see what we were doing! When we entered the room they were amazed at our jumpers and then when we produced further boxes, one for each of them it was brilliant, the laughs and cheers made every secret stitch totally worth it.

Unfortunately my Uncle (Christmas Pudding) couldn’t make it on Christmas eve but here is the rest of the gang in there jumpers, and we gave him his on Christmas day.


The great thing about knitting jumpers is they are not fitted items so we were able to use basic small, medium, large measurements to create them.
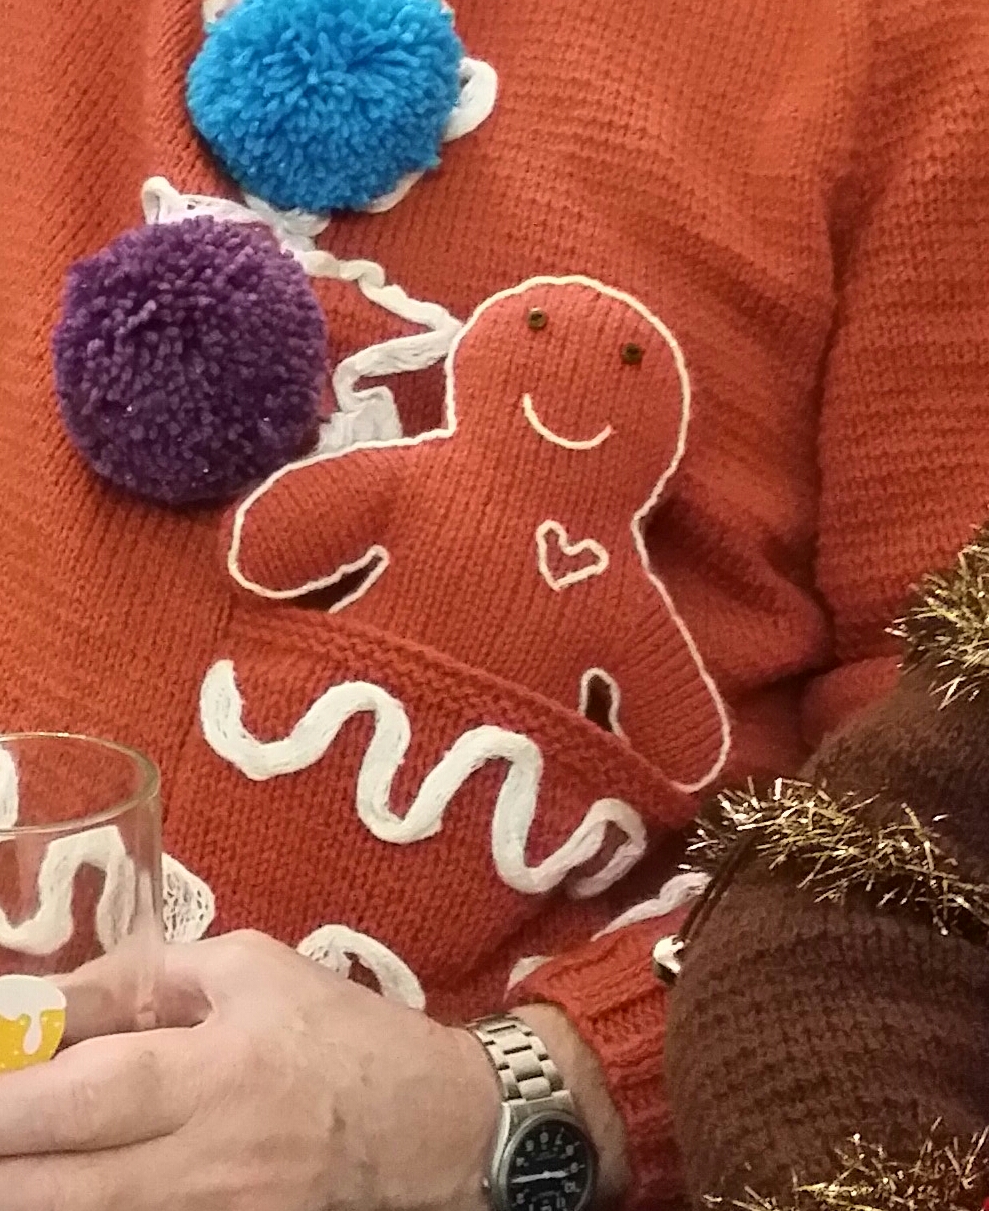
We also did accessories to go with each one, like hats and gloves, but by far my favourite has to be the gingerbread man that sits in the pocket of my dad’s Gingerbread man jumper.


Which also soon found its way on to the tree


Here are all the jumpers laid out flat so you can see the detail


Now it’s time to start planning next year’s homemade surprise, although I’m not sure anything will top this!!

Monday 14 December 2015

Olaf Kit - KnitNow

Ok so I must admit I have never seen the frozen film but like half the population okay am a fan of the well known song and when KnitNow magazine landed on my doormat with the free pattern and kit I just couldnt resist making it.

KnitNow magazine is a magazine I have a subscription for, not just because the sometimes feature my patterns :) but because there is always a great selection of well written patterns and Olaf was no exception.

The yarn kit came with everything you needed and the amount of yarn provided was great, I actually think I could have almost got 2 Olafs out of the quantities, I have in the past had kits that have just fallen short of the yardage needed so I was very impressed with this!

Now I cant pretend my knitting of this went completly glitch free but it was my own fault; the pattern stated "row 1 and all odd rows purl" I did this however the last row detailed was an even row and rather than doing a purl row before casting off a cast off on the purl side, when I then had to pick up stitches I ended up with a bump along the edge, so had to take it back a few rows, so lesson learnt end on an odd row!!

One of my tools that really helped with this pattern was my digital row counter, I would have been lost with out this, as with all patterns its essential to keep track of your place


I still have some of these in my etsy store, i would be lost without mine!

When i was making up my Olaf i found that putting small pieces of card in the base of the feet helped them stay structured and Olaf stand up


Pinning the pieces in place before joining them also helps make sure the position is correctand stays correct whilst attaching them.


The arms were a little fidderly but once the threads were sewn it i think they looked worth it.


And here he is my Olaf


Sunday 6 December 2015

Kirstie Allsopps Handmade Christmas Fair

A couple of weeks ago I went to the Handmade Fair in Manchester and it was fabulous, basically it is an event made up on talks,  workshops and stalls all related to craft and in the price of the ticket you get 3 events; 2 workshops and a talk.

For the talk we went to a talk with Kirstie Allsopp and the lady behind Attic24 , Lucy. Its was really interesting and actually the motivation behind my blog revamp and promise not to neglect it again. The stage was filled with her blankets and colour work which was amazing to see I follow her on instagram and always feel inspired by her colours.

So for my 2 work shops I did Lino printing wrapping paper and needle felting baubles.

Lino printing in basically a piece if lino that you carve out your image on and then ink up and print, it was really fun (and a little messy) but the needle feling was by far my favourite, not sure if thats because it involves fibre :) basically you have a tool made up of sharp needles that you punch in to the fibre to 'knit' it together, we did this around polystyrene  balls to create baubles, I love it so much I actually ordered all the equipment to make some more although have not yet got round to picking it up.

Here is Kirstie opening the event, my and my friend couldnt help let out a little scream when we saw the craft queen.


Waiting for the attic 24 talk only 1 row from the front


Amazing view and brilliant show


And my creations...


Festive Robin Bunting - Free Crochet Pattern


I have neglected this blog and for that I have no excuse and I am sorry, you may notice the change in style, I am hoping the revamp will help me reconnect with it. I have lots to tell on the patterns I have had published and craft I have been doing, but first a free crochet pattern.

I made this robin bunting for my mum, for her robins are not just for Christmas, she loves them but this bunting I think does add a festive touch and is something she will save for the special time of year. I am more of a knit designer than crochet so crochet patterns from me are quite rare, but I hope you like it.


Materials

Double knit wool in red and brown (I used Patons Fab DK Red 02323, and Hayfield Bonus DK Rusty 0780)

Small amount of DK yellow

2 blue beads for each Robin

3mm crochet hook

Measurements

You can make as many robins as you want which will change the end length, the distance between 2 robins is approx.. 14cm.

Each robin is 9cm at widest point, 9cm tall.


Abbreviations

Ch - chain

Dc – double crochet

Hdc – halt double crochet

Sc – single crochet

Sl st – slip stitch

Tr – triple crochet


Pattern

Using Red.

Ch 4, join with a Sl st to the first ch to make a loop.

Rnd 1; sc 2 in to each sc, sl st in to first ch. (8)

Rnd 2; 1sc in to first sc, 2sc in to next sc, *1sc in to next sc, 2sc in ti next sc, continue from * until all 8sc have been worked, sl st in to first sc. (12)

Rnd 3; 2sc in to first sc, 1sc in to next sc, *2sc in to next sc, 1sc in to next sc, continue from * until all sc have been worked, sl st in to first sc. (27)

Rnd 4; Repeat Rnd 3.

Rnd 5; Repeat Rnd 3 to last sc, isc in to the last sc, sl st in to first sc. (40)

Change to brown

Rnd 6; sc in to the next 15 sc, hdc in to next sc, dc in to next 2sc, tr in to next 4sc, dc in to next 2sc, hdc in to next sc, sc in to the next 15sc, sl st in to first sc and fasten off. (this forms the head)

Rnd 7; on the right side count down 9sc from the hdc stitch and attach yarn, sc in to the next sc, hdc in to the next  2sc, dc in to the next sc, hdc in to the next 2sc, sc in to each stitch across the head ending on the hdc on the other side, sc in to this, sc in to the next 2sc, hdc in to the next 2sc, dc in to the next sc, hdc in to the next 2sc, sc in to the next sc, sl st in to the next sc and fasten off.

Weave in loose ends.


For the beak

Using yellow

Ch 4, fasten off

Weave in ends, fold in half and attach to the centre of the face just above the red


For the eyes

attach a blue bead either side of the beak.


Bunting cord

Using Red Ch100 (or until it is the desired length), take one of the robins and do 3 sl st across the back of the head, ch40, take another robin and do 3 sl st across the back of the head, continue in this way until all robins have been attached, ch100 (or until it is the desired length).

Fasten off.

 
Ta-dah! you have Robin Bunting x
 

Saturday 28 February 2015

February Review

Well as you know I have been working on my 'Get Fresh' top, I put this on hold whilst I worked on some designs and swatches for the latest designs call for KnitNow magazine (more on them later) and when I picked it back up I really wasnt feeling it,  it seemed totally snapeless and way too big which had actually been a common theme from the feedback people had done on ravely and I shoukd have listened! 

But obviously I didnt want to put my hard work to waste and the lack of shaping actually became a plus factor as it turned nicely in to a snood :) I unravelled it back to the point before the arm shaping and ta-dah!!


Now back to my other exciting news, so like i said other than this change of plan snood and a few other little knits i have been focusing on designs and swatches for the knit now design call and i found out last night they are not commissioning one of my designs...they are not commsissioning two of my designs....THEY ARE COMMISSIONING THREE!!!! I am so excited and proud!! I cant tell you what but i can tell you they will but in the June, July and  August editions. Keep your eyes peeled and let me know what you think x x


Friday 6 February 2015

stitch, sewing and hobbycraft show

I treated myself to a day off work tocommissionend a day with the girls at the stitch, sewing and hobbycraft show at event city (near the Trafford Centre) it was so much fun!!

We explored the stalls and everything that was on offer before going for lunch and deciding what we were going to purchase on our return and a lot of yarn was purchased, there were other craftes on offer too like card making, needle felting and decoupage but I must say my purchases were all along the knitting theme!! 

But I think my favourite purchase wasnt yarn but this printed ribbon, its purfect to add to my gift knits! 


I am still working through my latest commission designs but cant wait to get creating with my new yarn.....oh yes i must get the get fresh top done first!!!

The fare continues tomorrow and more information can be found on their site i really do recomend a visit!

Monday 2 February 2015

January Review

I cant believe we are a month in to the new year already! Its crazy to think this time last year I was setting out on my mission to get published and now I have one pattern published another coming soon in issue 46 of Knit Now and I am currently working on my latest knitting design submissions! Unfortunately I cant share any of the  design ideas with you but I will keep you updated on the success I am really excited about the designs so watch this space!

Because of the design submissions  I am focusing on my knitted 'get fresh' top is currently on the back burner but im not starting anything new until it is done so as soon as my design submissions are done will be picking it up again!

Here are some of my favourite knits from January.......


Sunday 18 January 2015

I meant to do it...honest!

'Its so important to read a pattern properly'

'Read it twice to make sure you understand it'

'Take your time'

These are all things I have said to my friends when teaching them to knit and read patterns and what did I do.... I forgot the basics, I went full steam ahead on my 'Get Fresh' top and miss read the stitch sequence for the stitch pattern of the top.

If I had done it correctly and alternated the order of the yo, k2tog I would have ended up with an almost brick effect like seen here...


But because i didnt alternate the yo, k2tog i ended up with a duagnal line of stitches and to be honest i liked it!

But I didnt like the idea of diagnals all going the same way through out and i liked the idea if undoing even less!! so instead i have used the ssk way of decreasing that means the stitches lean the other way for the next set and this is how i will now continue through out the pattern and i must say im actally pretty pleased with my mistake


its coming along nicely and the rico design cotton is a dream to work with i cant wait to see the finished result!!

Wednesday 7 January 2015

Sent with love

I am always buying yarn and knitting accessories online, more often that I should really!

And it always puts a smile on my face to receive yummy yarn, but todays delivery was extra special, not because of the item being delivered but the way it was delivered! It was my first order from loveknitting.com and it wont be my last, it was the extra touches that did it.

When I opened the package I expected to find the yarn in the bag as usual but it wasnt it was neatly presented in a lovely organza bag, not only did it look nice but it really made me feel that they looked after my purchase! 

And as I pulled it out some sweet treats fell to the floor, it really was a lovely touch and its these small touches that I really do think make a difference and shows they appreciate my custom. And I must say I appreciated the sweets :)


So what am I using this RICO Design essential cotton dk to make? Well its a summer top called Get Fresh By Kirstie Mcleod published in a past edition of Simply Knitting, i am using a different yarn to the one listed as cotton yarns are perfect for summer knits as they are cooling and i think this colour is just perfectly bright and vibrant and with the dark cold weather continuing its loveky to knit warm colours and think of summer.

Here it is .....


Check back soon to see my progress x

Sunday 4 January 2015

As Pleased As Punch

At the start of last year a taught a few friends to knit, it was great fun teaching them and its amazing to see the lovely things they are now creating. We also set up our own knitting club once a month and in todays meet I had a lovely surprise one of the girls had knitted my owl bag design from KnitNow issue 42!

She has done such an amazing job and its great too see my pattern recreated by someone else, I just need to introduce her to Ravelry now so it can be linked :)
Here it is.....